How
to decrease images sizes without losing quality
I
will demonstrate how to optimise scanned photos using Paintshop
Pro and Adobe Photoshop. These are probably the more widely
used graphics packages.
Paintshop
Pro has very different ways of operating from Photoshop. It
doesn't allow the user to customise the size of the image
as easily as photoshop - however it is less complex to use.
Paintshop
Pro:
Open
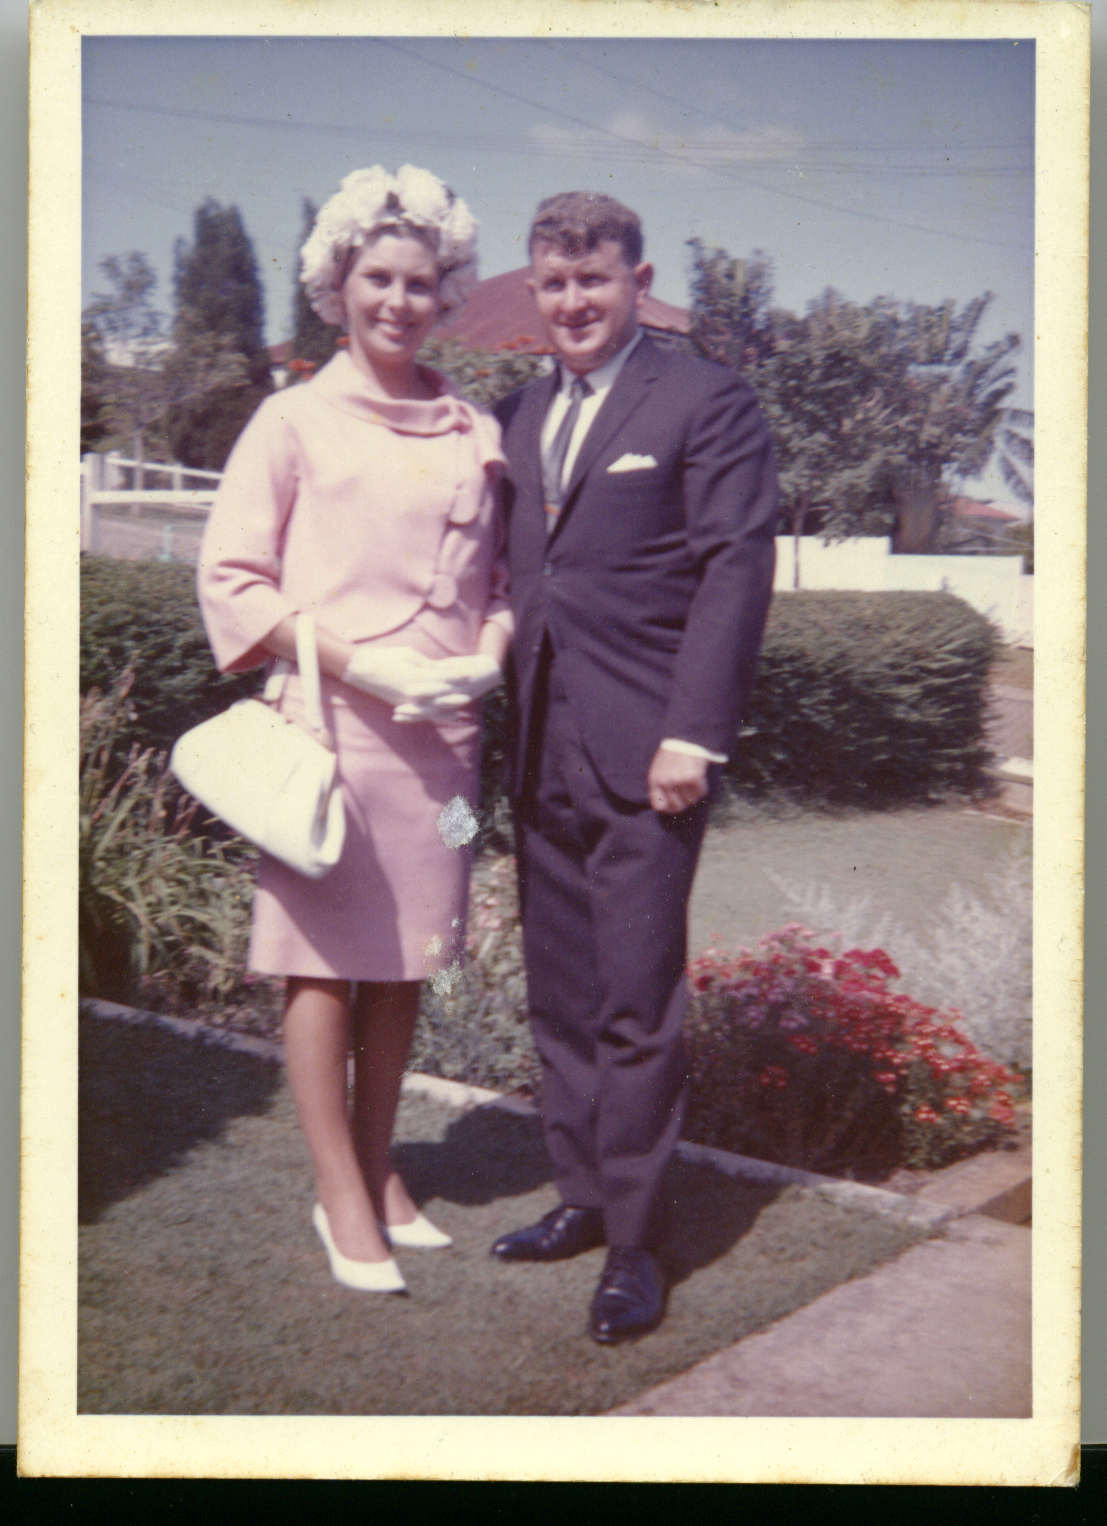
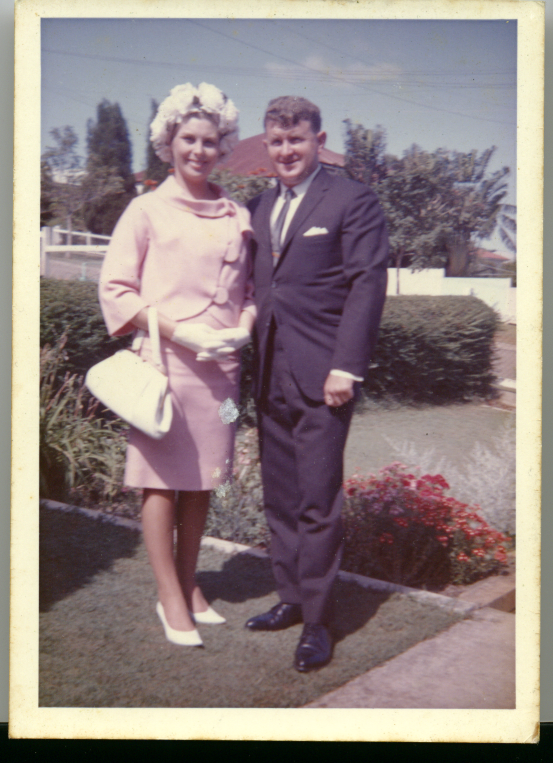
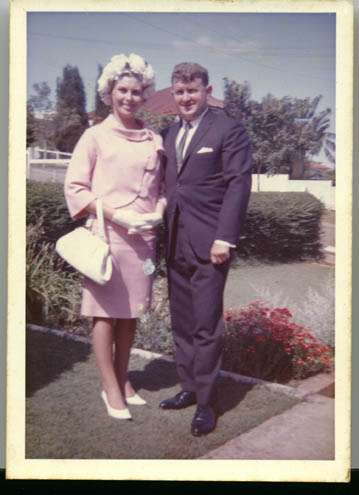
the file in photos/parents65.bmp in Paintshop pro.
Go
to the image information windo and you will see that the the
dimensions aare 1107 x 1526 pixels or 3.6x5.0 inches. The
resolution is 300dpi (or sometimes ppi). The colour depth
is 24/16 million colours. This results in a file size of 4.83
Mb.
Paintshop
Pro has an annoying habit of fitting images to screen - so
make sure you image is at 100%.
If
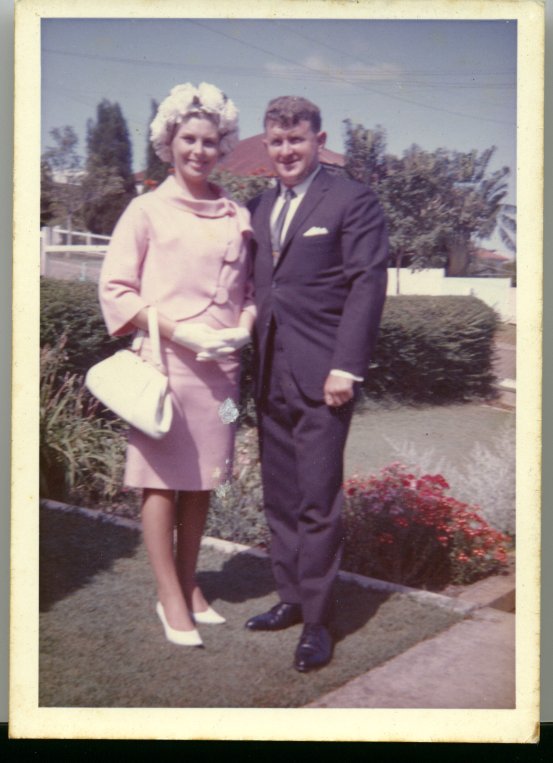
you open the file "paintshop/parents72.gif" you
will find a file that has had it's resolution reduced to 72
only and saved as a gif. This file is still quite large at
1.08Mb.
The
next file "paintshop/parents72small.gif" has had
its dimensions reduced first then the resolution. This file
is much smaller at 266Kb. (This is still way too large)
Unfortunately,
changing the size of images in Paintshop is limited to only
cm and inches. Therfore it is probably better to change dimensions
using proportions.
So
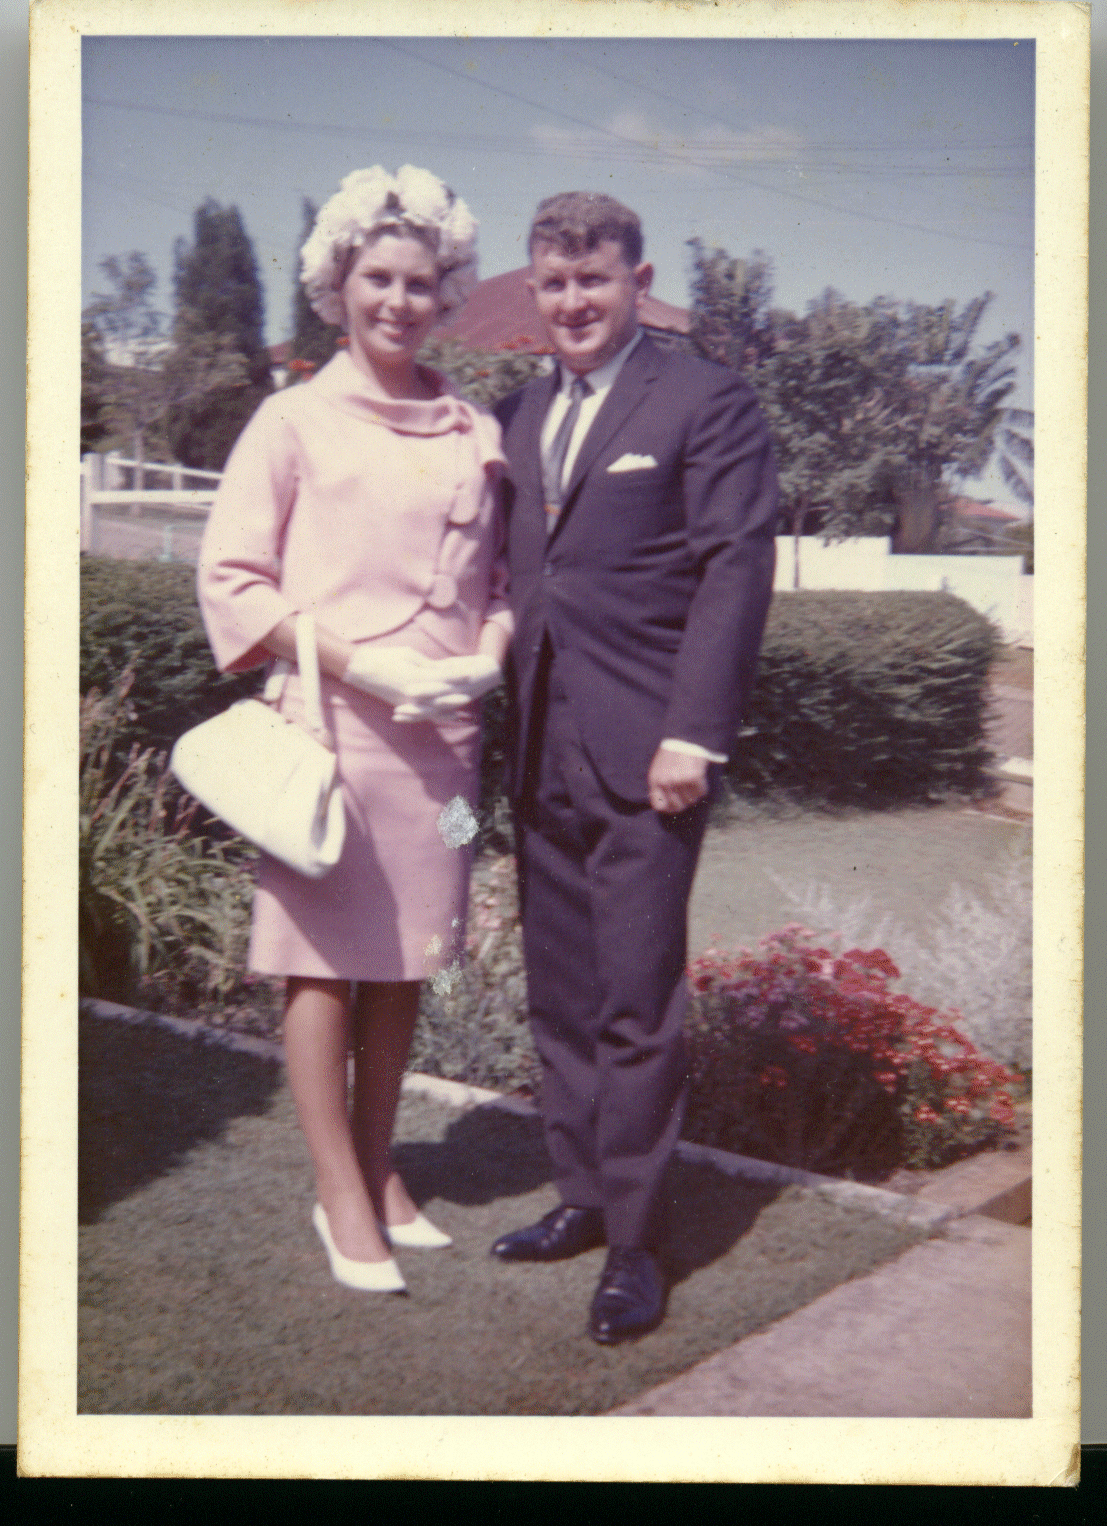
if we go back to our original "paintshop/parents65.bmp"
and reduce it by 50%. see "paintshop/parents50.bmp"
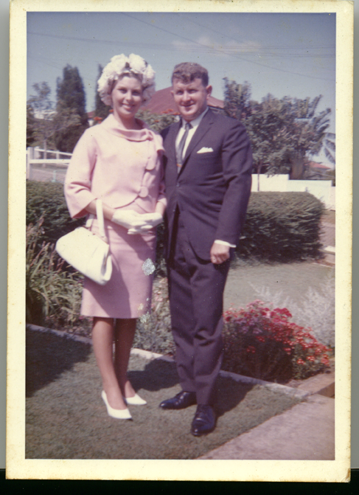
at 1.20 Mb. Then reduce the resolution to 72, and save as
a JPEG. See "paintshop
parents50_72.jpg. Now we have
a file size that is manageable and reasonable quality at 69.6Kb.
It
is best to adjust the size down here using the dimensions
until the file size is lower than 50 K.
Photoshop:
Photoshop
is a little more difficult to master, however, it gives you
more control over how much you can reduce the file sizes.
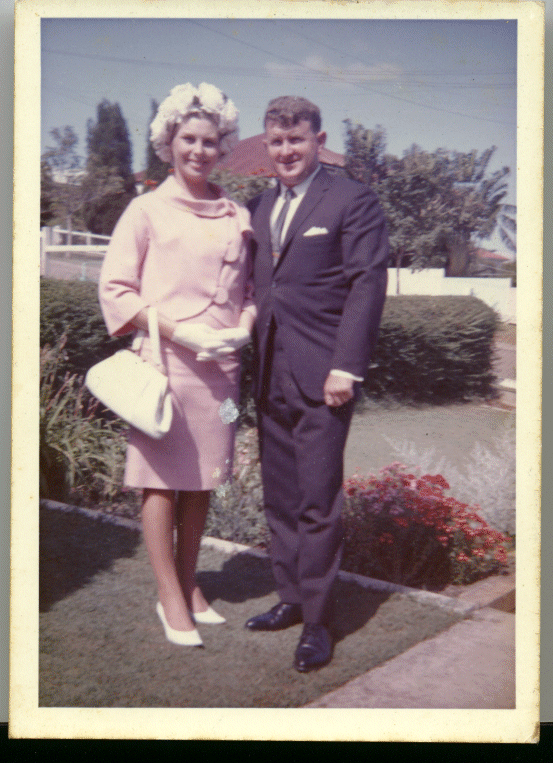
Going
back to "paintshop/parents65.bmp" lets' first reduce
the image dimensions by 50 to get the righ size onthe screen.
Now let's reduce the resolution to 72dpi. this shrinks the
image!!! See "photoshop/parents50_72.bmp"
This
means you have to consider how much the resolution decrease
will effect the image size on screen - something you don't
have to worry about in Paintshop Pro.
So
back to our original image which is 300dpi. It's dimensions
are roughly 1000pixels wide. We want the screen size of the
image to be less than 500 pixels wide.
We
have to reduce 300dpi to 72 dpi - roughly decreasing the image
size by two thirds. So you want to INCREASE to the image dimensions
before decreasing the resolution to 72dpi.
So
to make "photoshop/parentsincrease72.bmp" I increased
the width of the image to 1500 pixels before reducing resolution.
This file is 522Kb, and roughly the screen size I want.
However,
it's still too large and needs to be saved as a JPEG. Opt
for medium - baseline optimised for the lowest file size and
best quality. See "photoshop/parentsincrease72.jpg"
where the size is now 33 Kb.
Next
page: Web tools for graphics
 BACK TO TOP
|






















 instructions for teachers
for
instructions for teachers
for